

View the youtube video here: https://youtu.be/JntcCBDzrQI
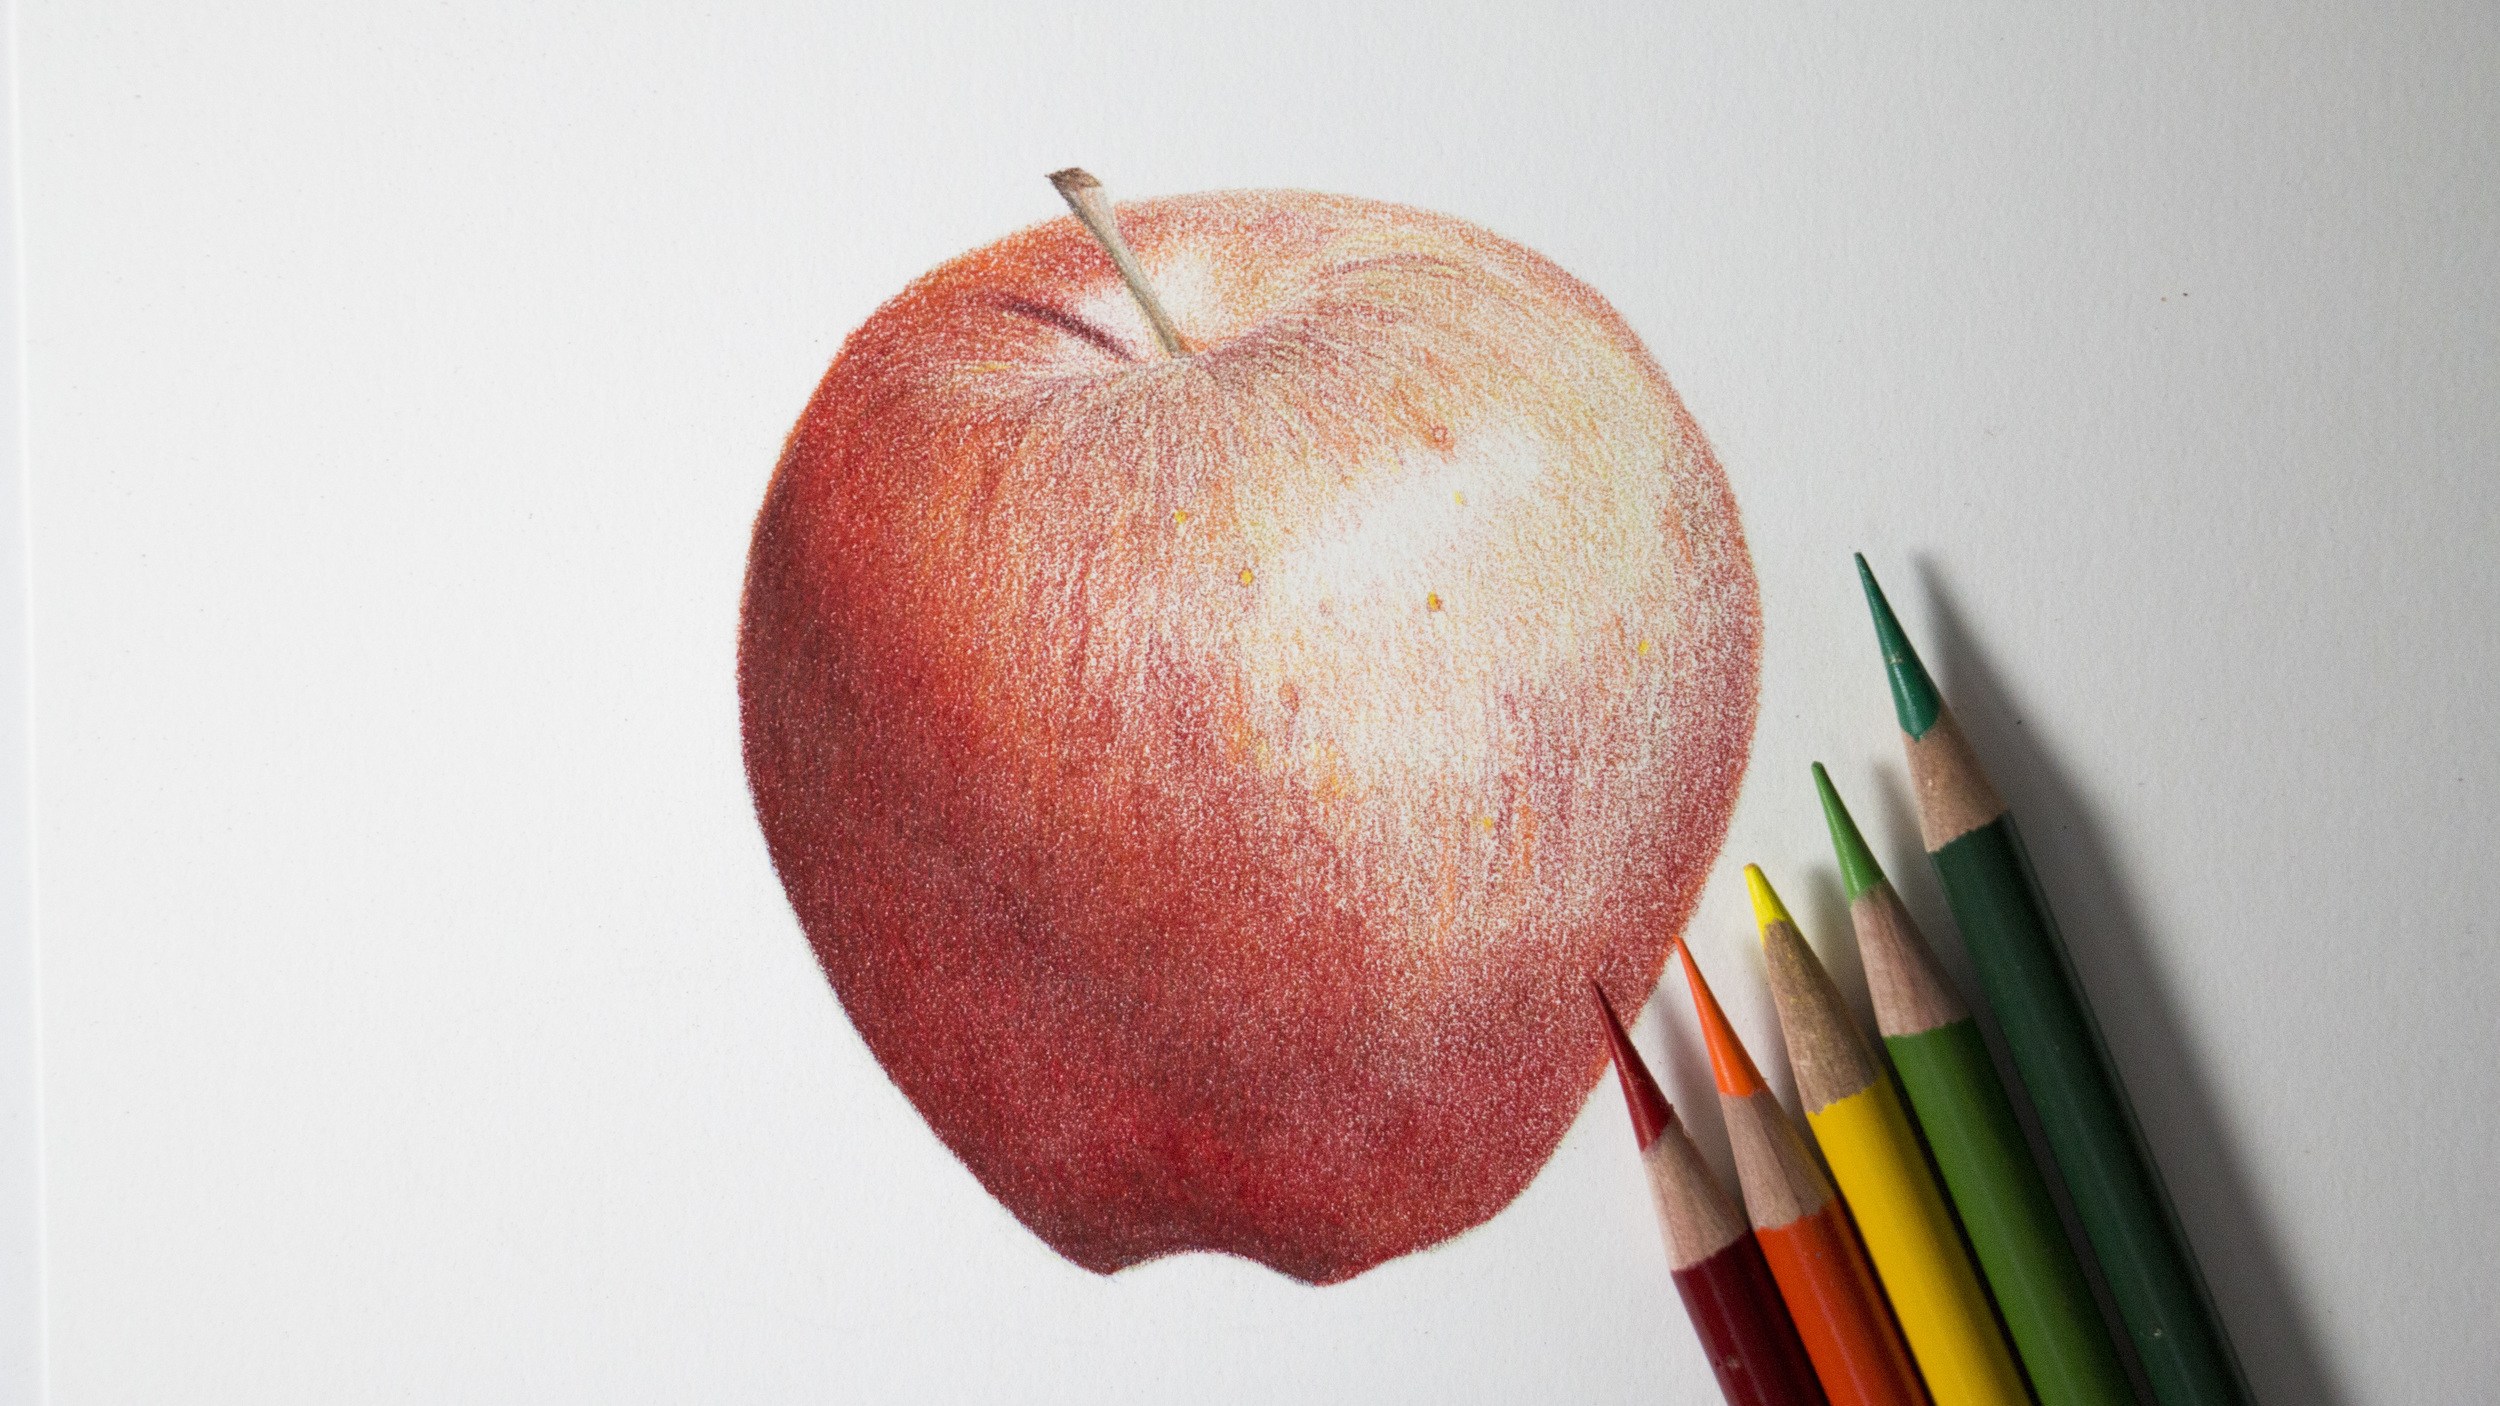
In this tutorial I walk you through creating a red apple from start to finish. The reference photo (taken by me) is yours to do whatever you want with.
Be sure and download the apple reference. Click the button above.

The individual colors used means so much less than the approach to the composition does. Also outweighing color selection is how we handle form, value and application of the medium.
Creating art is problem solving and involves a lot of your senses. Think about the dialogue in your head as you work through your own drawing.
Drawing is seeing and observing light, line and value. Forget what you know and draw what you see instead. Try to determine what direction the light is cast as you observe the angle of the subject.
Let’s get started!
Click here to download photos!
Step 1 - Line drawing. I would use either a light green or orange with a very light touch. The line drawing is one of the most important things about creating realism in a drawing or painting. Pay close attention to the reference photo and the space and perspective. It may be easier (especially if you’re a beginner) to trace the outside edge of the drawing to your paper.
Step 2 – Shading with green. Why green? Because the opposite color of red is green. So in order to create the contour and form of the round shape with shadows I have to use the opposite color. Most of the green will go in the shaded area of the apple, which is the bottom left side.
Step 3 – Shading with yellow. The brightest areas of the apple will be the little area where you see the light reflected. Be sure and protect that area. Surrounding that area will also be very bright and so I want to use yellow in these areas. Pay special attention to the direction of your stroke as you lay down color.
Step 4 – Add more light green. Go over the top of the existing green and then smooth out the transitions of the yellow to the green area.
Step 5 - Color the stem and add red. I chose to use more green in my shading of the stem in order to give my drawing more life. Think about contour even in the stem. The stem is mostly a cylinder. Then with light to medium pressure begin adding a layer of red to the apple.
Step 6 – Shade with orange. Start shading with orange over the most of the area of the bright part of the apple remembering to preserve the lightest area where the highlight will go.
Step 7 – Add more red. This time with medium pressure add more red.
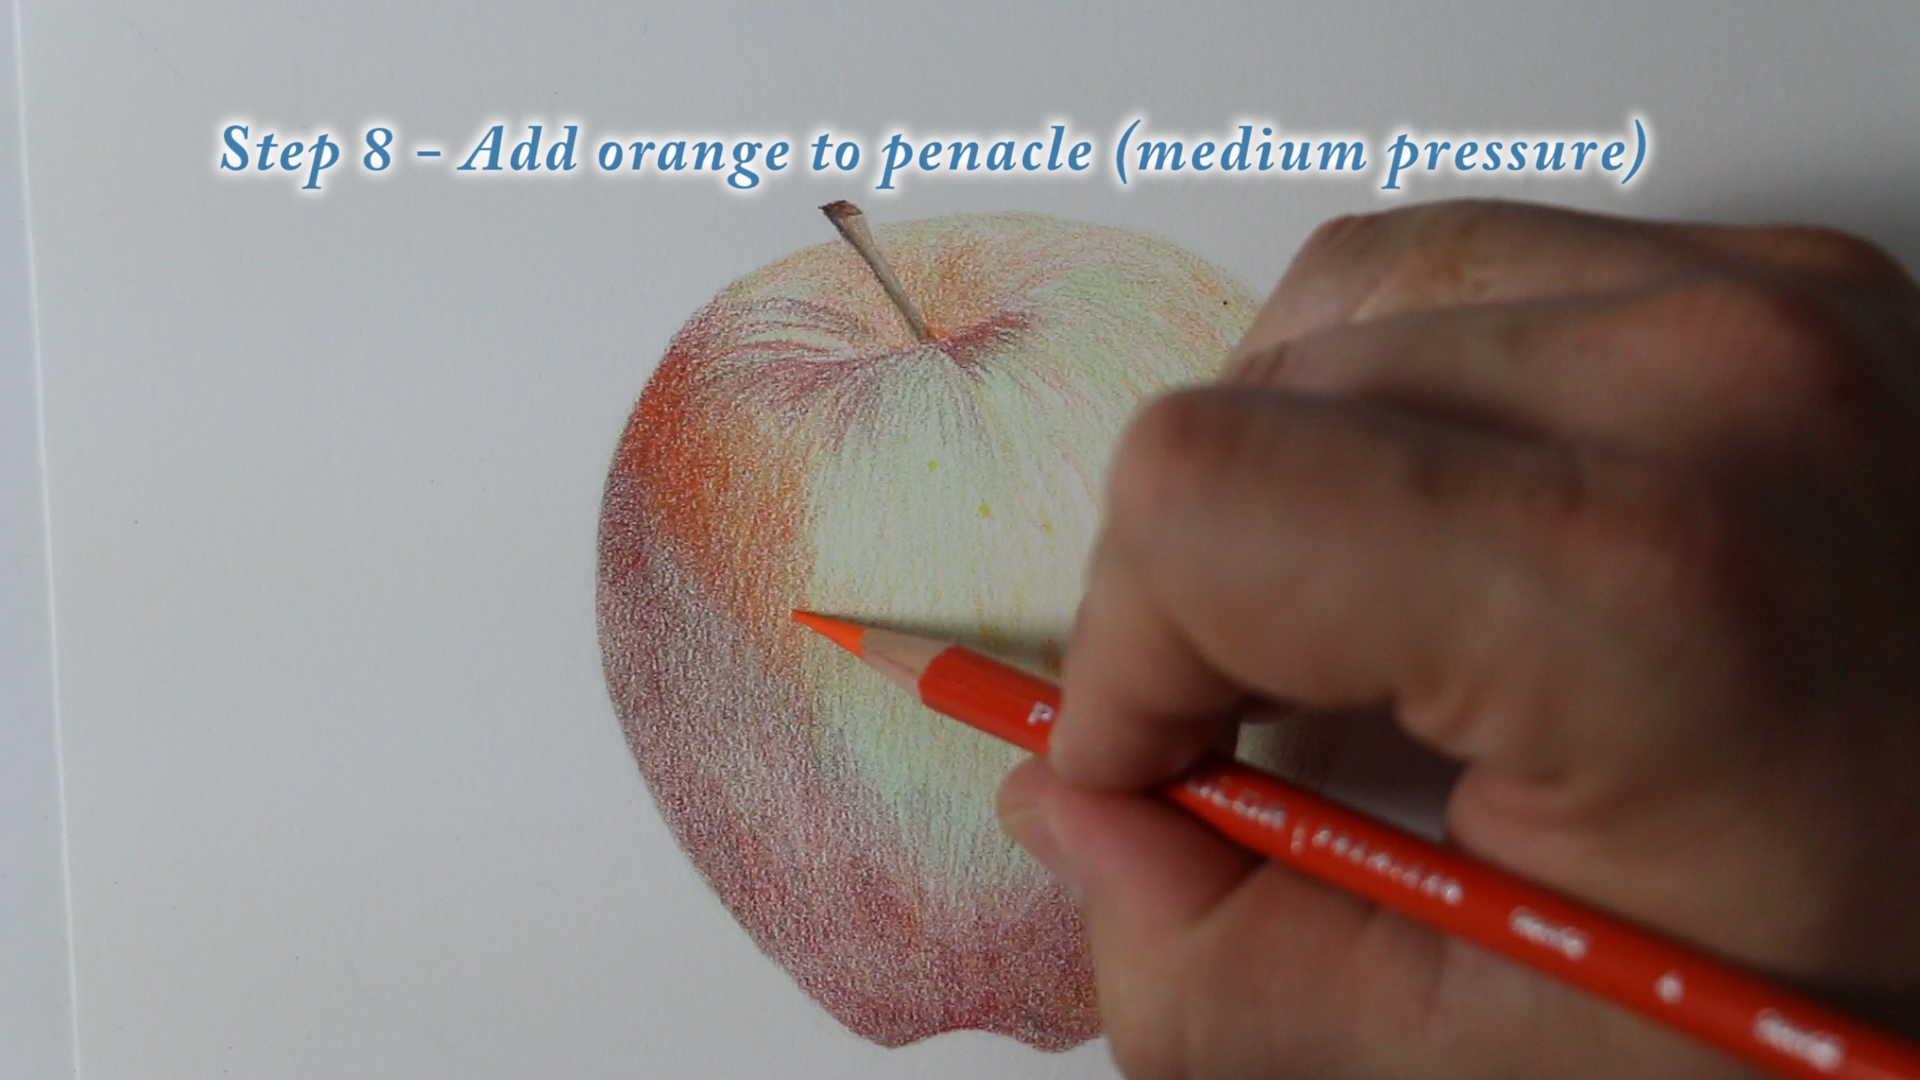
Step 8 – Add orange to middle of apple. Add a strong tapered layer of Orange from dark to light across the pinnacle of the apple. This is that area right where the largest girth of the body of the apple is. Right underneath this area is where the shadow of the apple will begin.
Step 9 – Add orange. Cover the entire apple with orange. But with only light pressure in the shadow area.
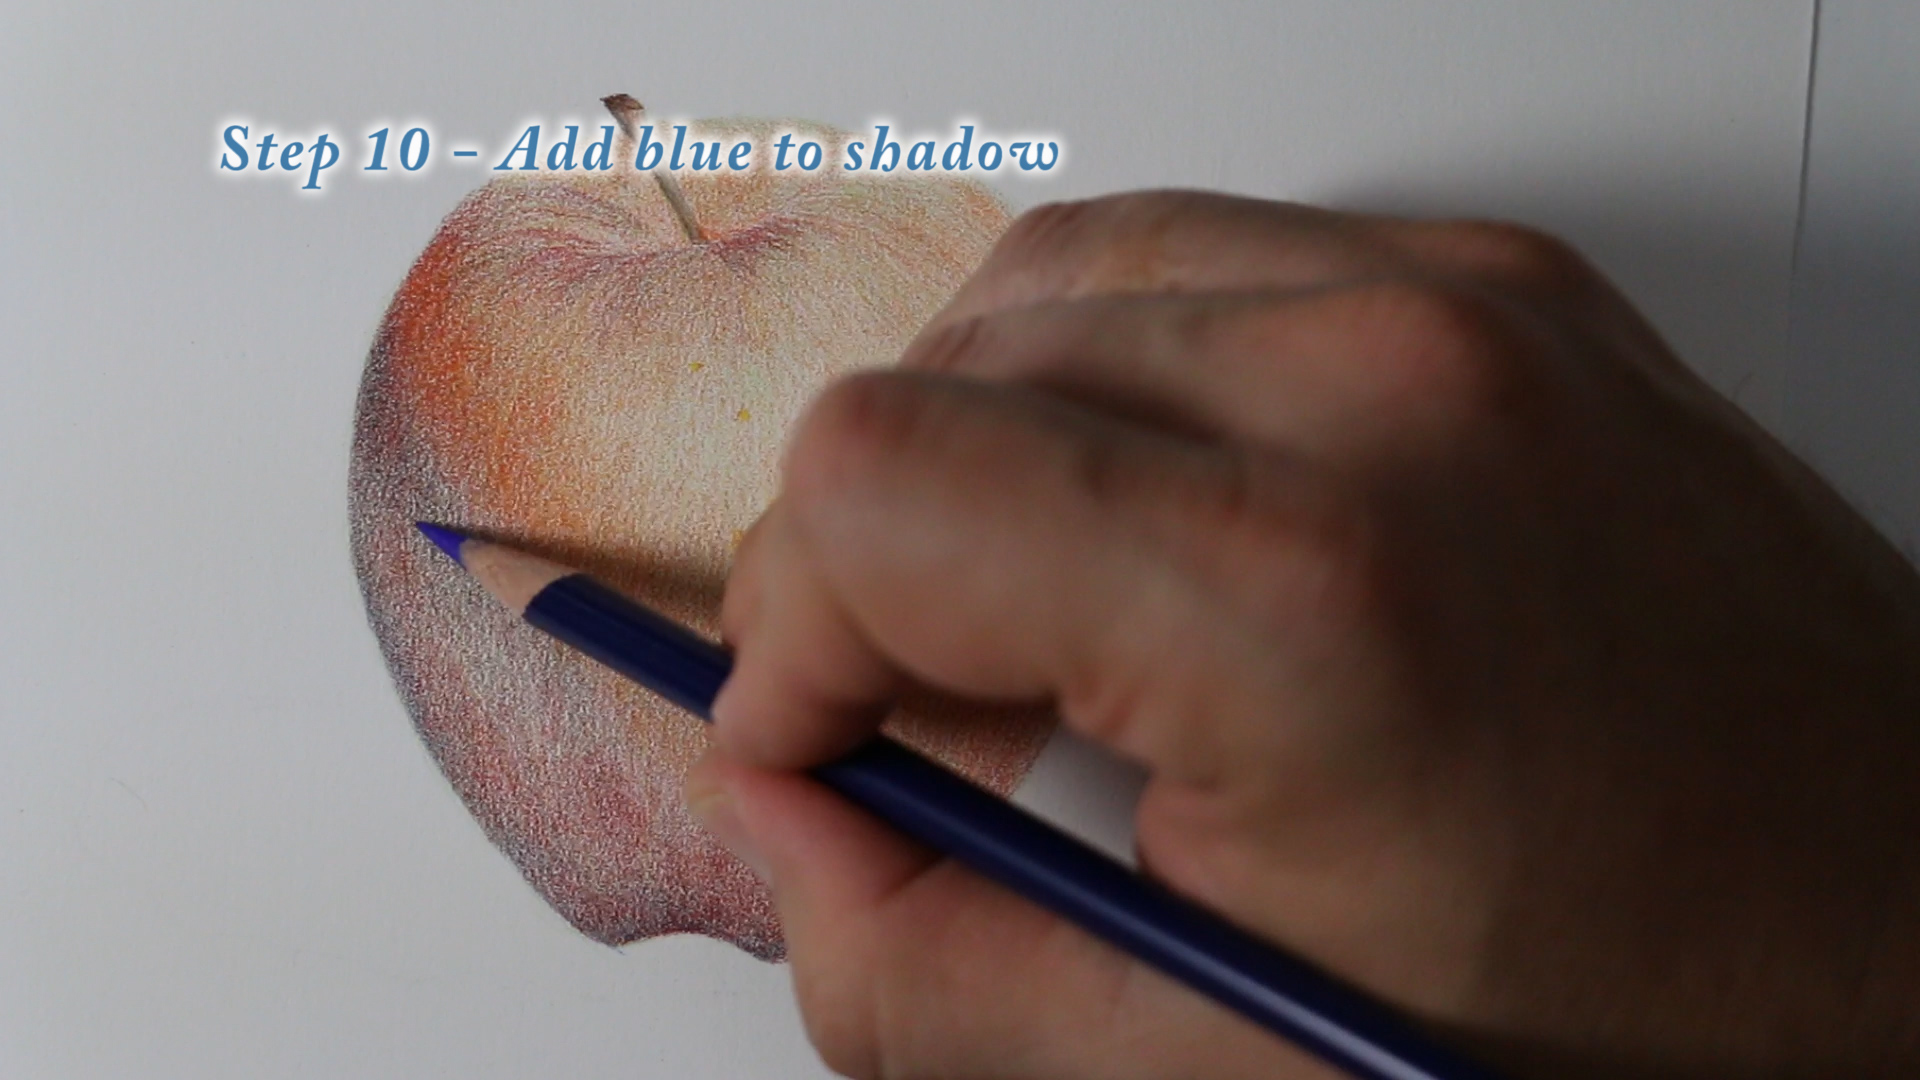
Step 10 – Add blue to shadow. You want to add blue to the area that is nearest to the bright area first and make that your strongest dark value.
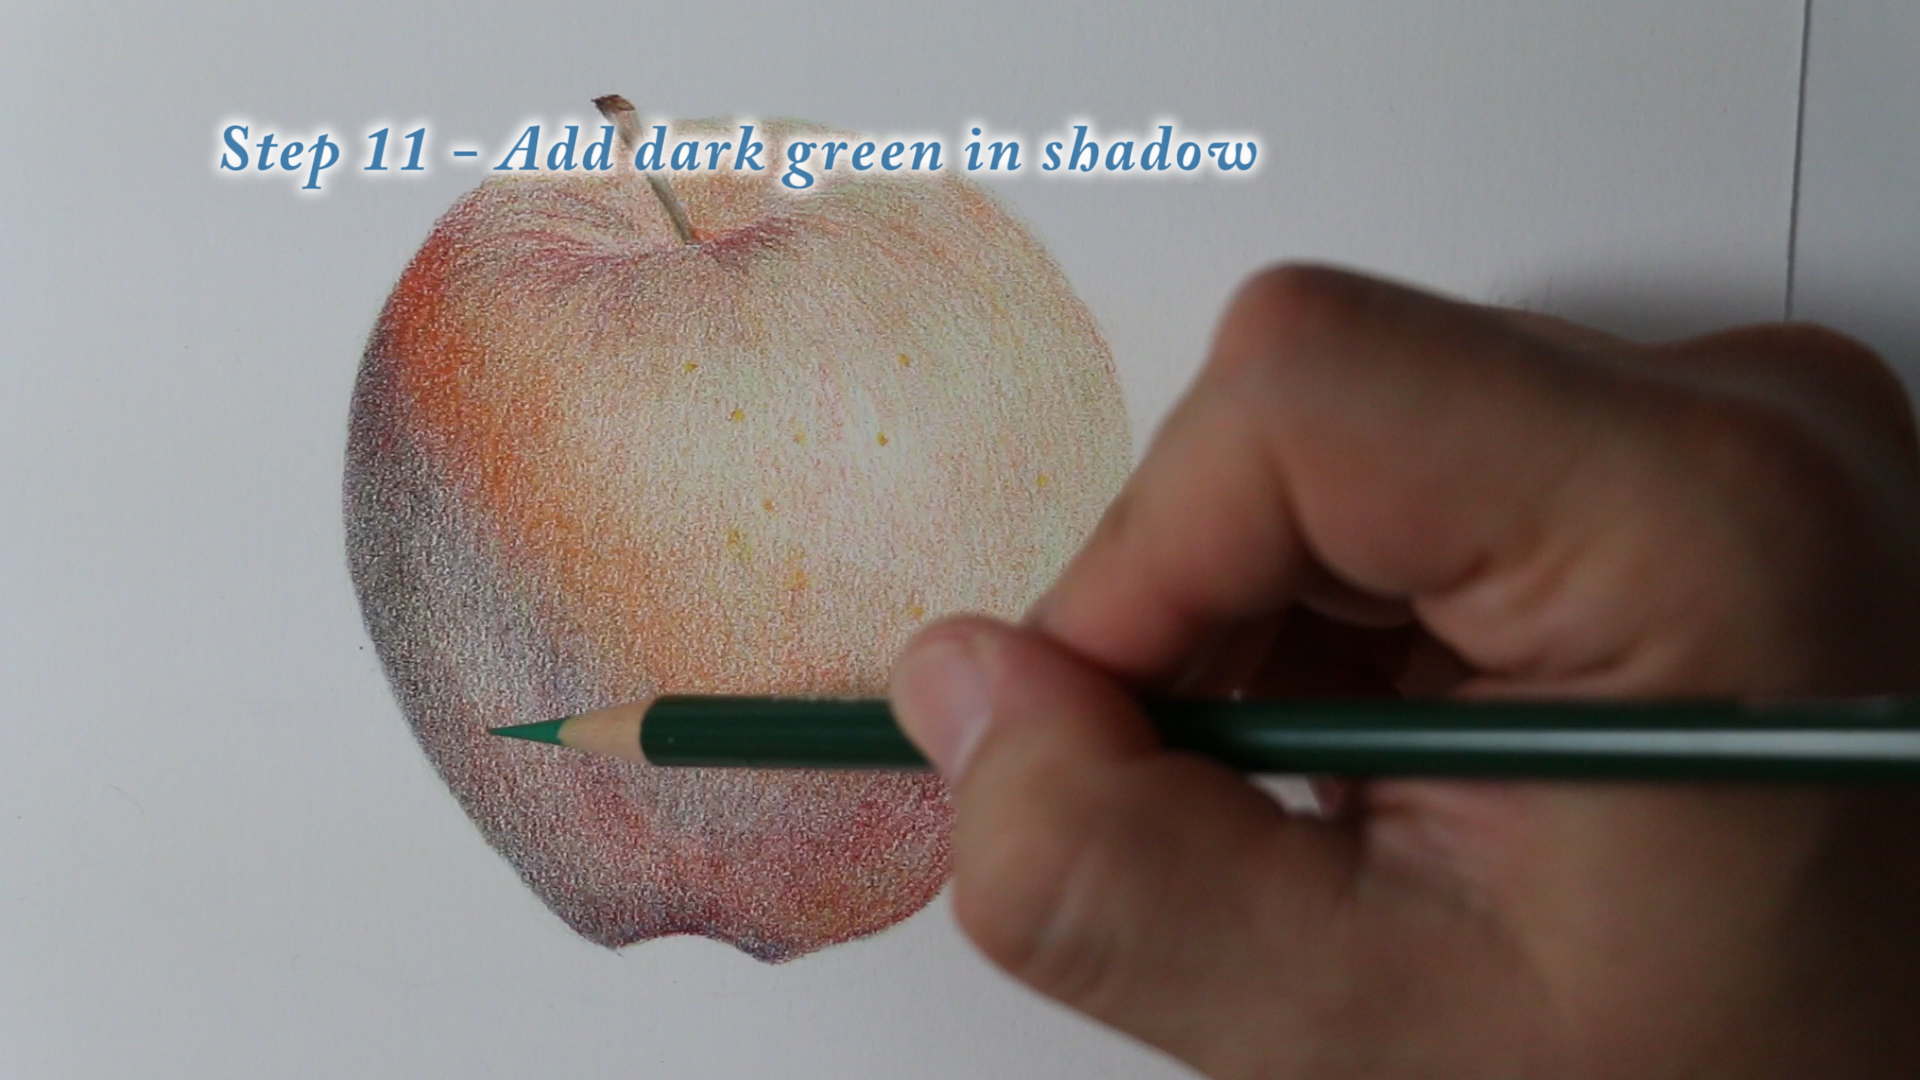
Step 11 – Add dark green to shadow. Add the green to the shadow area and use light to medium pressure.
Step 12 – Burnish with red. Burnish, very simply, means to use heavy pressure. With a very sharp point and heavy pressure you will be able to fill in all the white of the paper. This final burnishing technique adds a glossy look to the skin of the apple.
Step 13 – Add white. Add white to the small highlight area.
Step 14 – Add green to cast shadow. You want to be very careful not to press to hard in this area. It also helps to squint your eyes in order to detect how the value is being applied. You want a slow, tapered gradation in value so that the shadow fades away in a very elegant way.
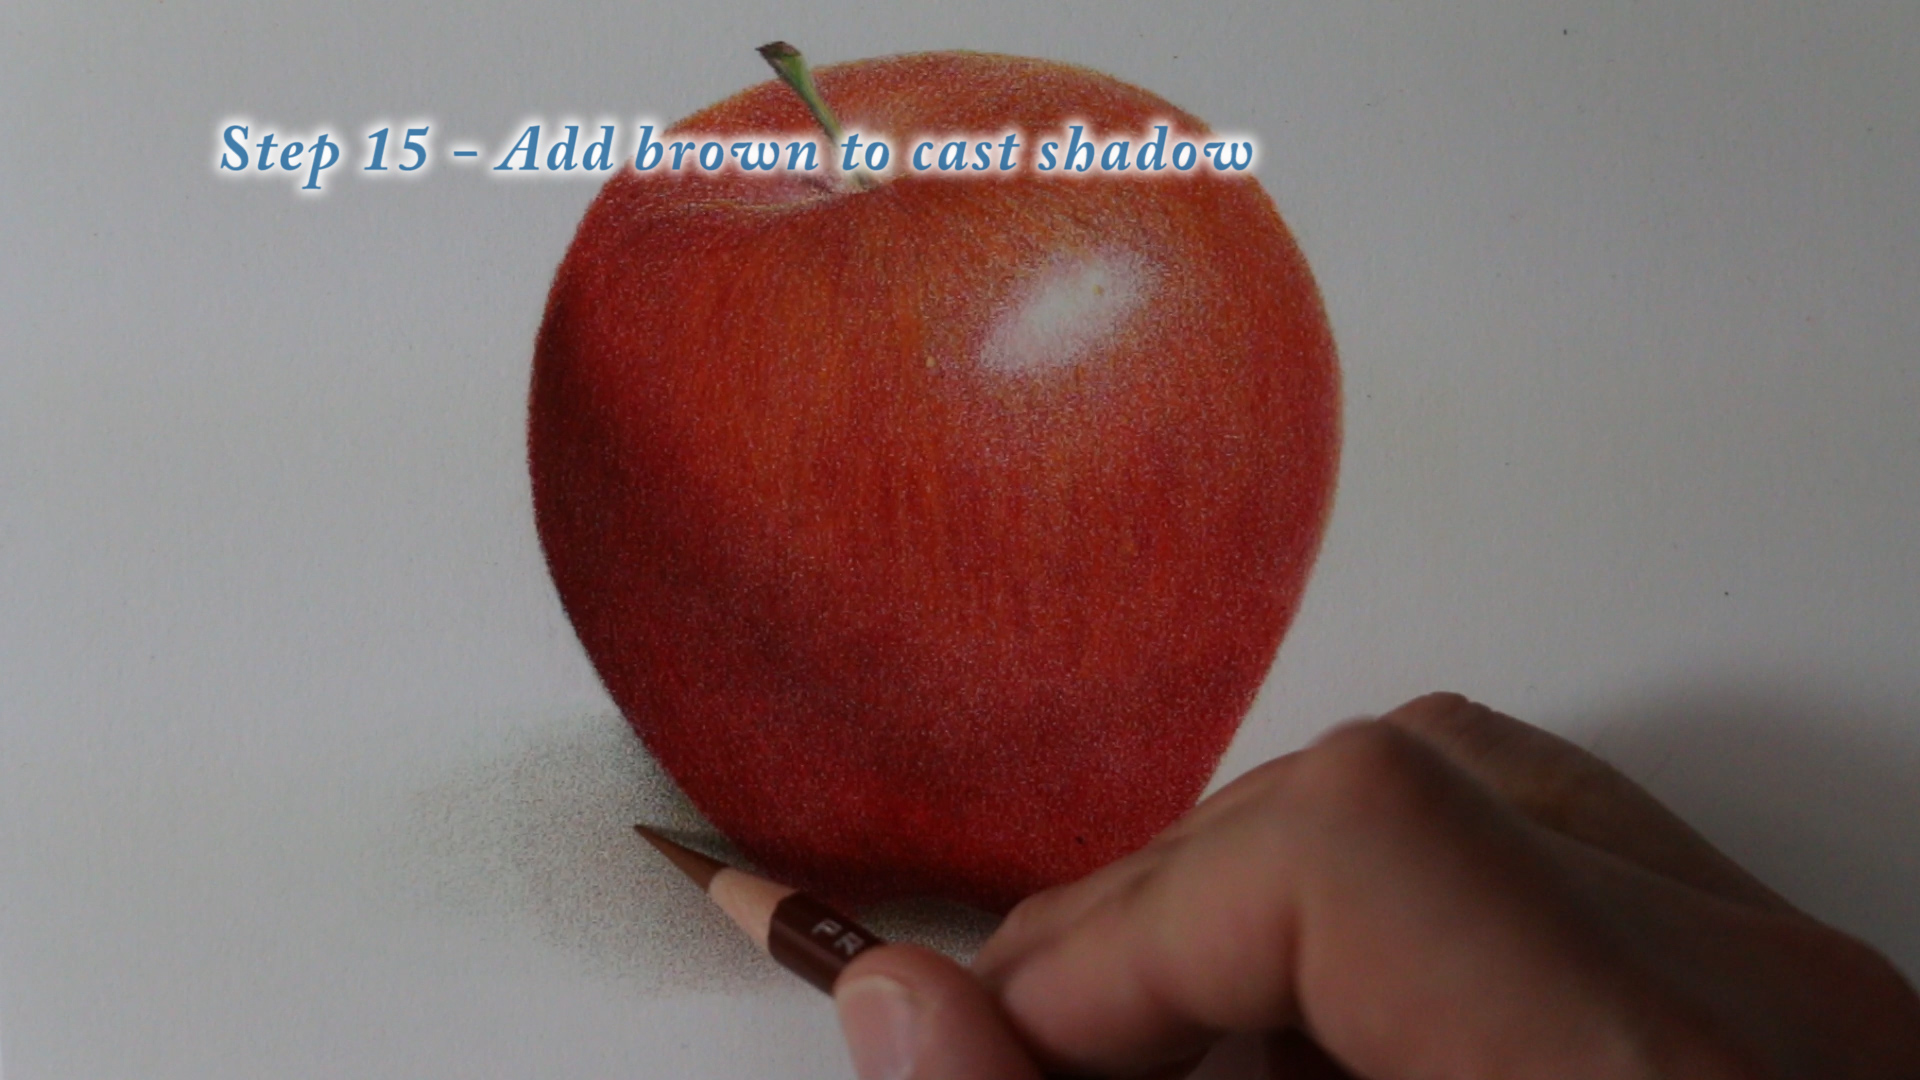
Step 15 – Add brown to cast shadow. Add your brown color to the are closest to the base of the apple to show the increase in value closest to your object.
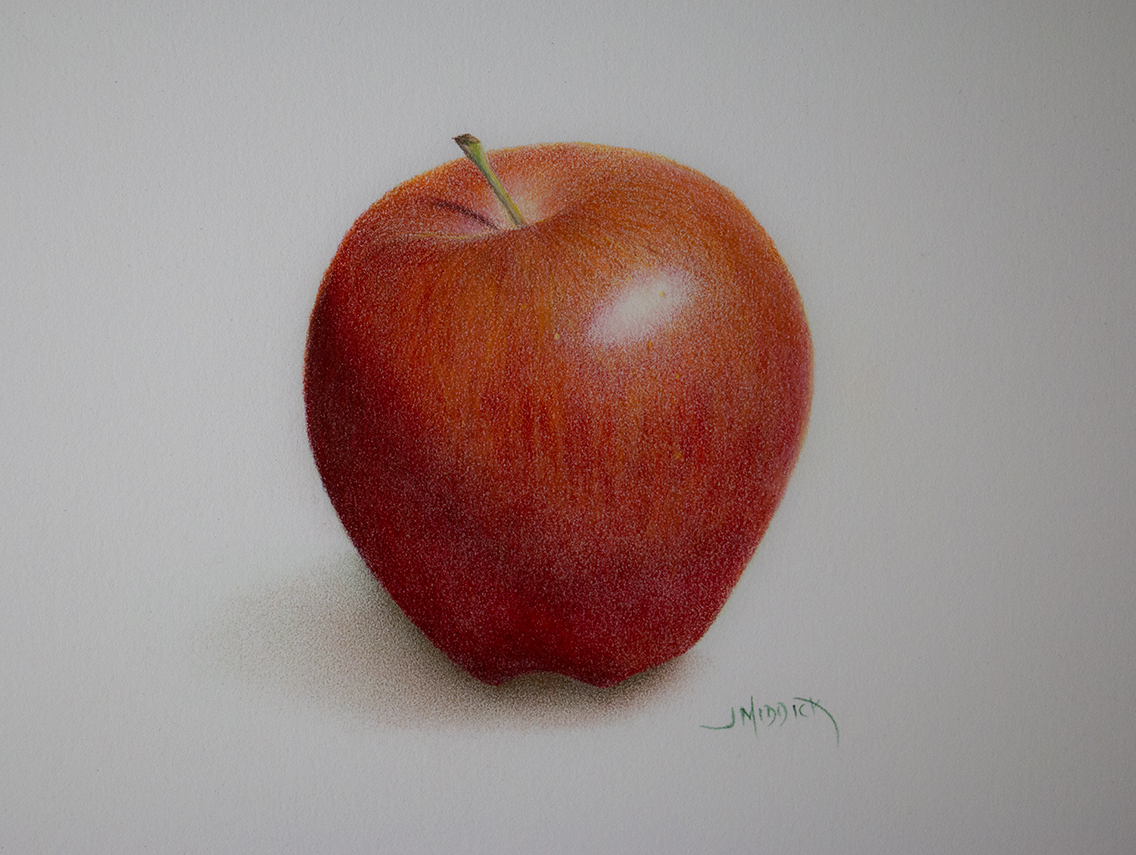
Spray with a fixative and you've completed your drawing!
Stay sharp!