
Drawing Field Pumpkins On Pastelmat by Clairefontaine
with Colored Pencil
For the 2-hour long version of this demo, join the Members Circle inside Monthly Sharpener!
For more info and to join the community, go here: https://monthly-sharpener.sharpenedartist.com/
In this demonstration you will learn how to render a colored pencil painting using a non-absorbent surface, called Pastelmat by Clairefontaine. You could use a sandpaper surface which is also a non-absorbent surface. The techniques will work on any non-absorbent surface but I’ll discuss some of the differences a little later on.
The biggest difference between using solvent on Pastelmat versus a traditional cotton paper like Stonehenge is you are able to move the medium around on the surface more.
In fact, on this paper you can move the pigment around using solvent better than you can on any other surface!
The color pencil medium becomes more of a painting medium and is extremely fluid when solvent is applied.

Click here to download the reference for this project.
The primary materials for this project are:
Paper - Pastelmat by Clairefontaine approximately 9"x12" (sizes are in centimeters)
Pencils - For this project I used:
Pencil for line drawing - Any professional colored pencil brand, a Col-Erase pencil or an HB graphite pencil, and a kneaded eraser, and battery operated eraser.
Solvent - Also referred to as Odorless Mineral Spirits (OMS) - I recommend Gamsol by Gamblin.
Click here for my recommendations on Materials for Colored Pencil work.
Techniques covered:
Composition considerations
Working on non-absorbent surfaces
Testing
Layering
Blending colors
Burnishing
Using Solvent
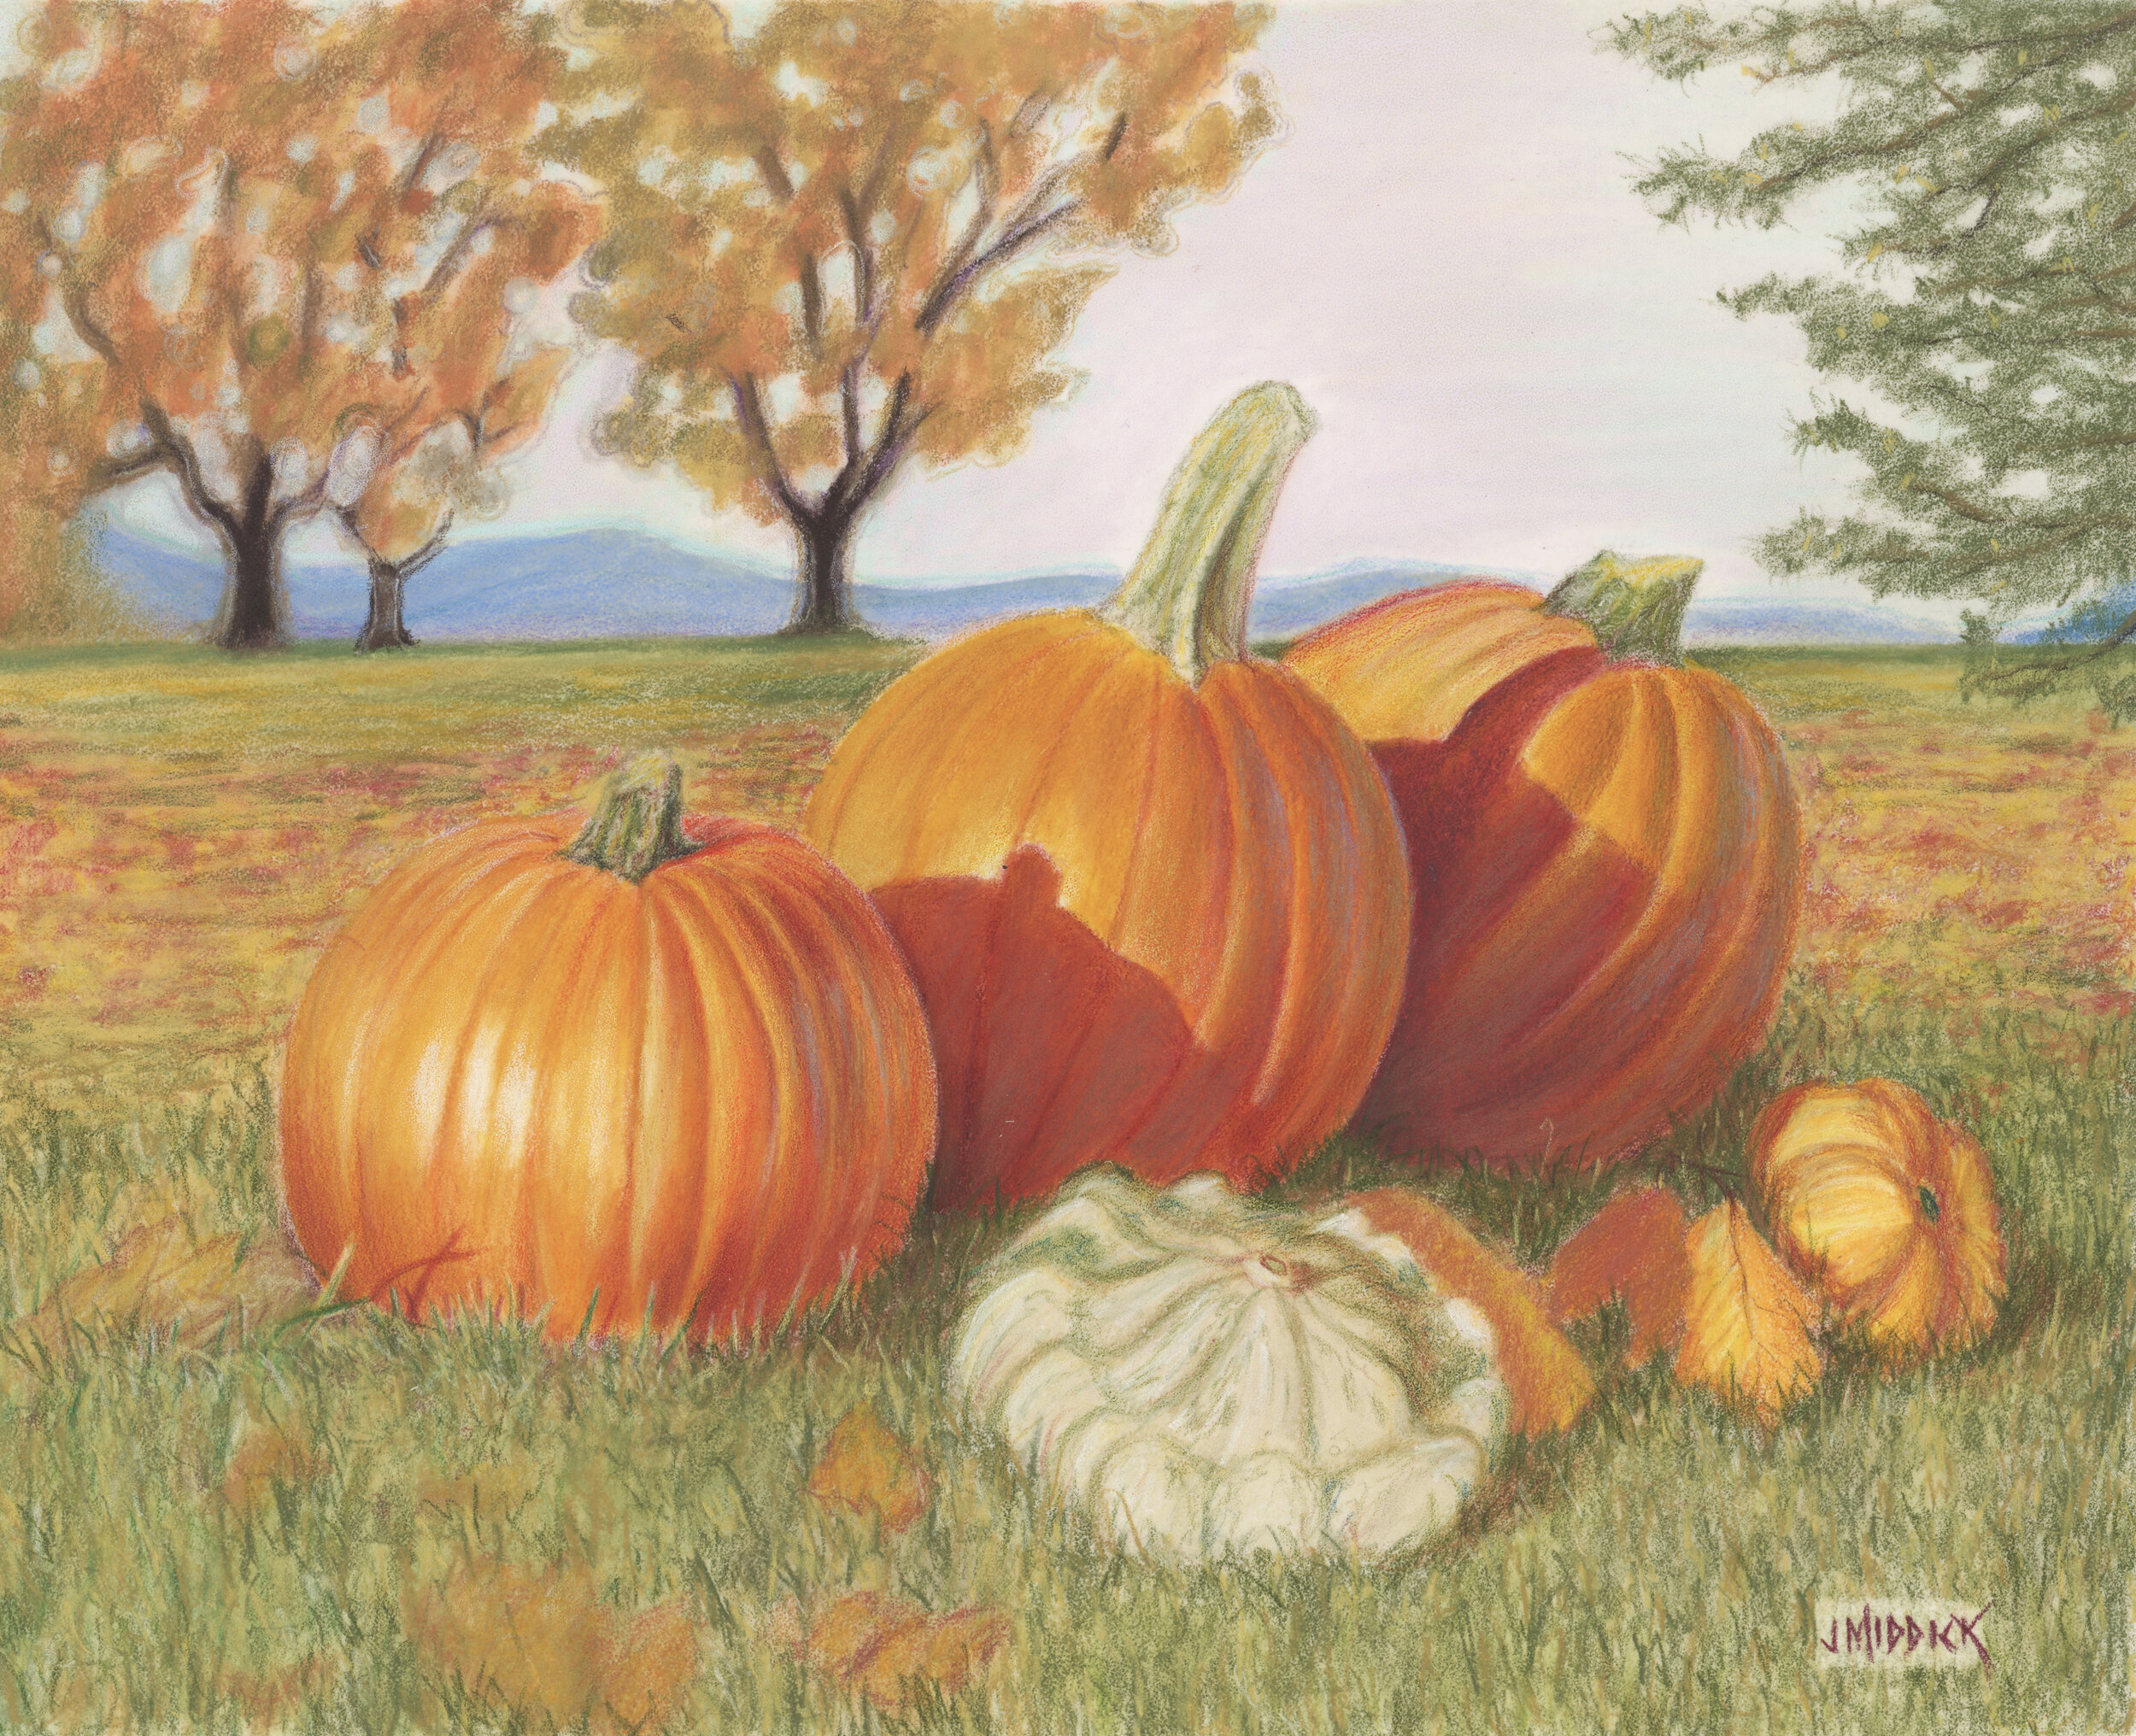
The title of this demonstration piece is “Field Pumpkins number 1”.
Using a rigid surface means that the pencil pigment will adhere to the surface much faster than it would on a cotton paper. Using solvent on a non-absorbent surface also allows you to lengthen the brushstrokes of the pigment more easily. The liquid travels farther and is much more fluid.
The advantage for you as a Creator is that you can render artwork much faster and you can achieve a more painterly style if that's what you're after. OR you can create very realistic work if you work in layers and create your final layers of detail with razor-sharp pencils.
In this art piece, I’m using a photo-realism effect by narrowing the field of focus. I placed these pumpkins in the grass and took the reference with a 50mm lens. I’m changing the background to depict distance.
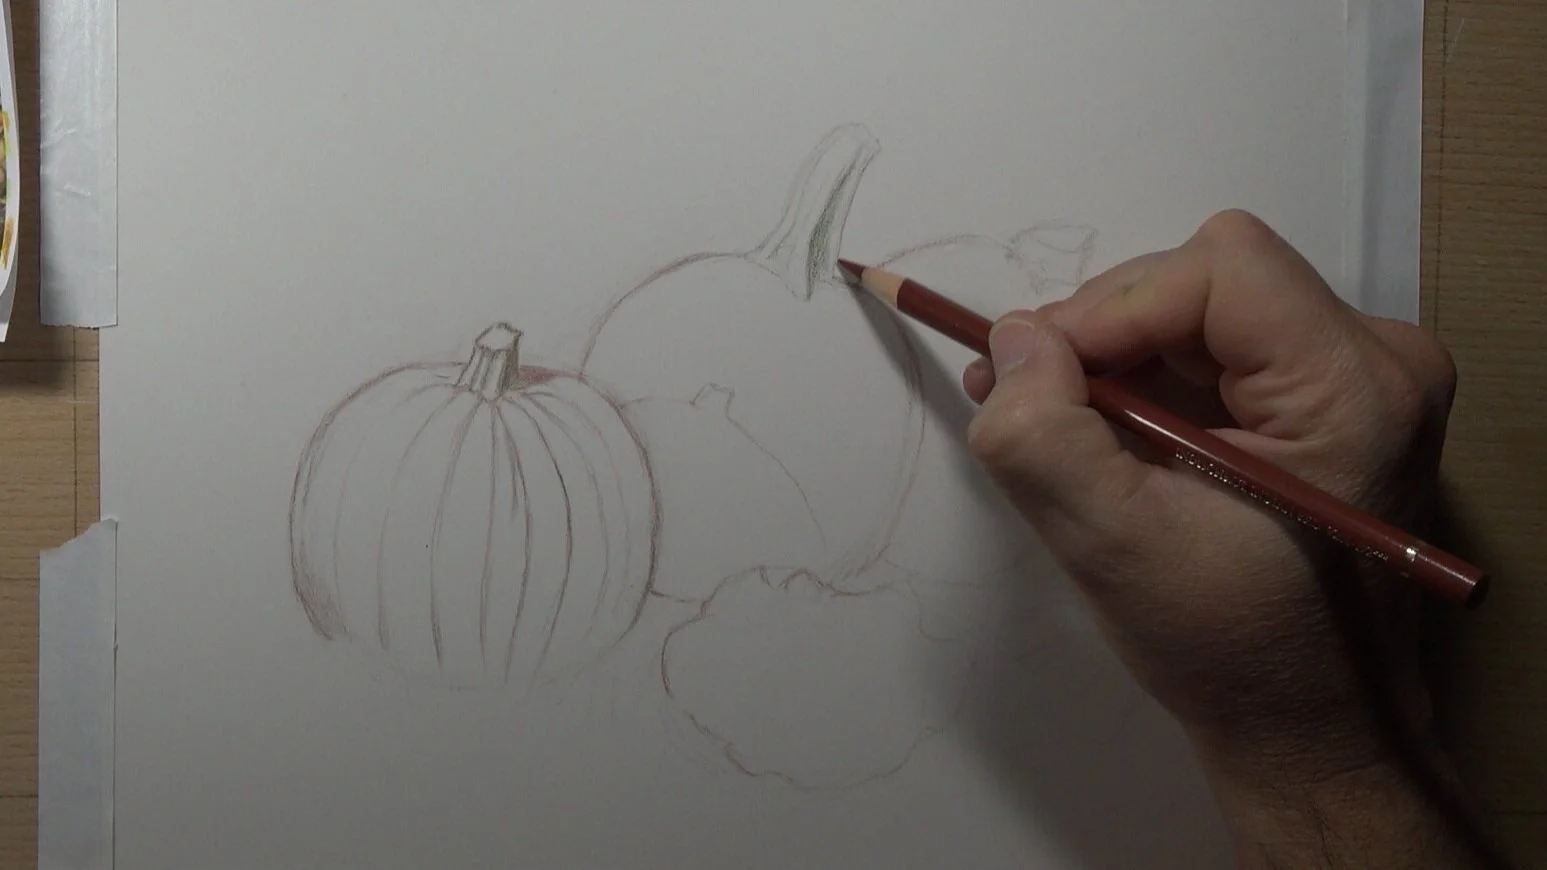
Step 1 - Line drawing and (roadmap and color choices)
Sketch out your line drawing

Start out by sketching your outline very lightly to create a roadmap.
You may decide to draw some small Thumbnail sketches in a notepad first to determine the overall composition before landing on your project.
Decide On Your Color Palette
Work out your color selections on a test sheet of paper before beginning your project. For this project I selected some very warm oranges, yellows, reds, and greens.
Note: One of the major differences between color pencil and other art mediums is you're mixing your colors right on your project. So determining the color choices ahead of time is critical.
Step 2 - Add More color to sharpen up the line drawing
Step 3 - Add initial layers of color. Red for shadows and yellow in the lightest areas, and orange for a local color.

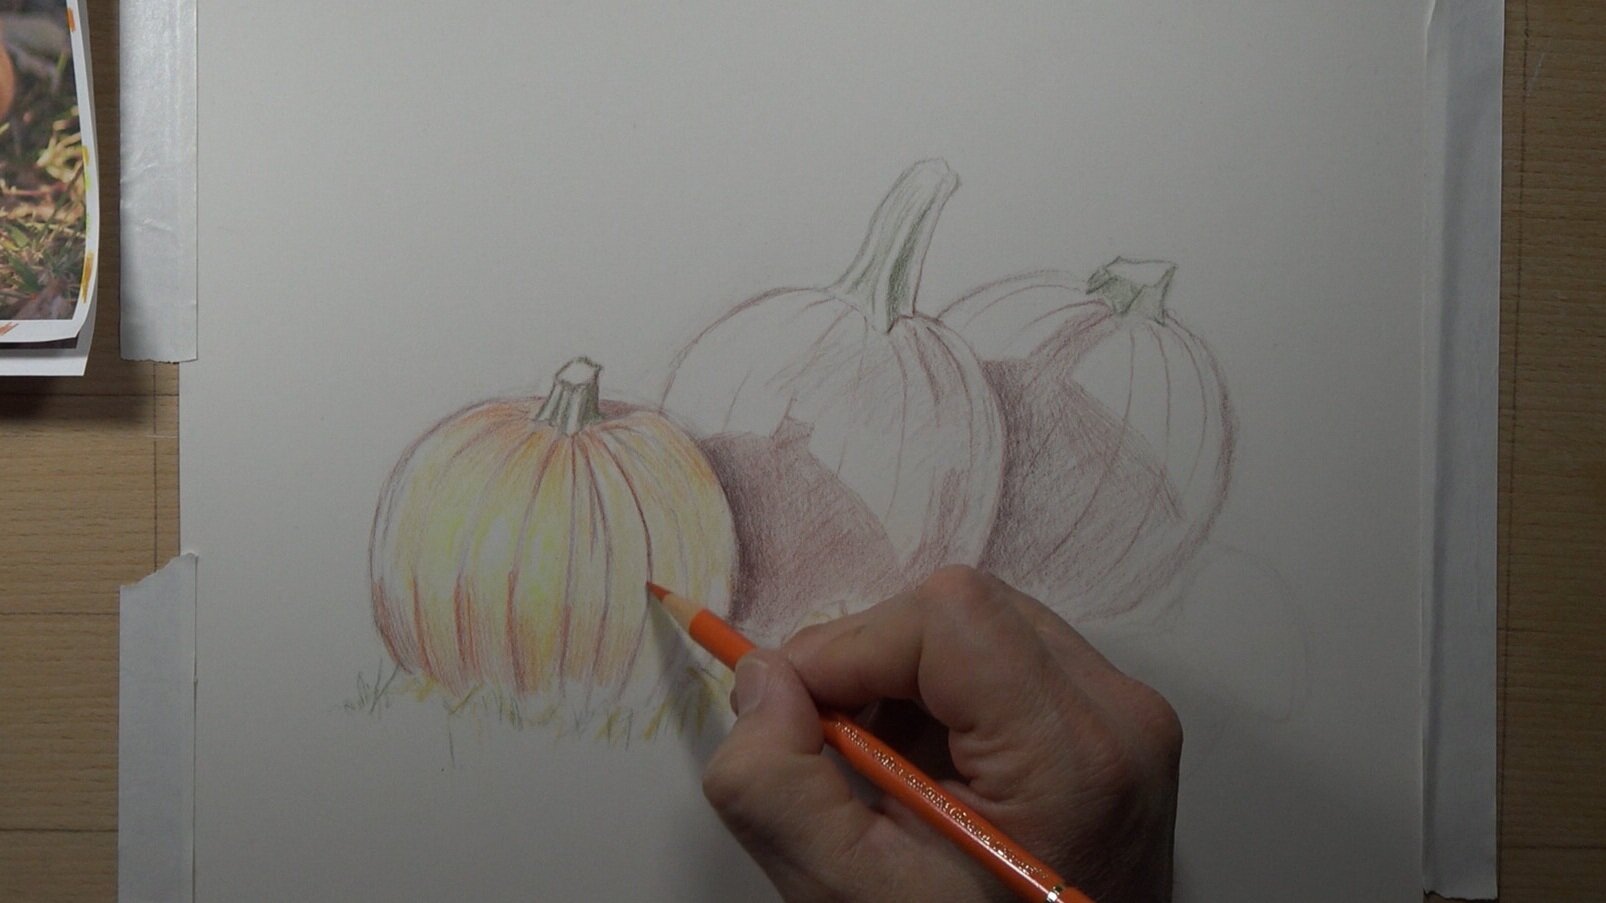
Once you've determined the colors you will use in the composition, begin applying the local color, the dark contrast and yellow to the highlights in the pumpkins.
I chose to add red in the darkest shadow areas (that’s the dark contrast). I’m using solvent to speed up the coverage of the pigment.
Note: When using solvent you have to make sure that it dries completely before adding more layers of pencil. If you don't do this then you will create indentations (depressed lines) in your work that cannot be removed. This is particularly difficult on cotton paper. Pastelmat and other non-absorbent surfaces are more forgiving with this, but it can still happen. So be careful!
Step 4 - Add solvent to the pumpkin, the shadows, and to the stem
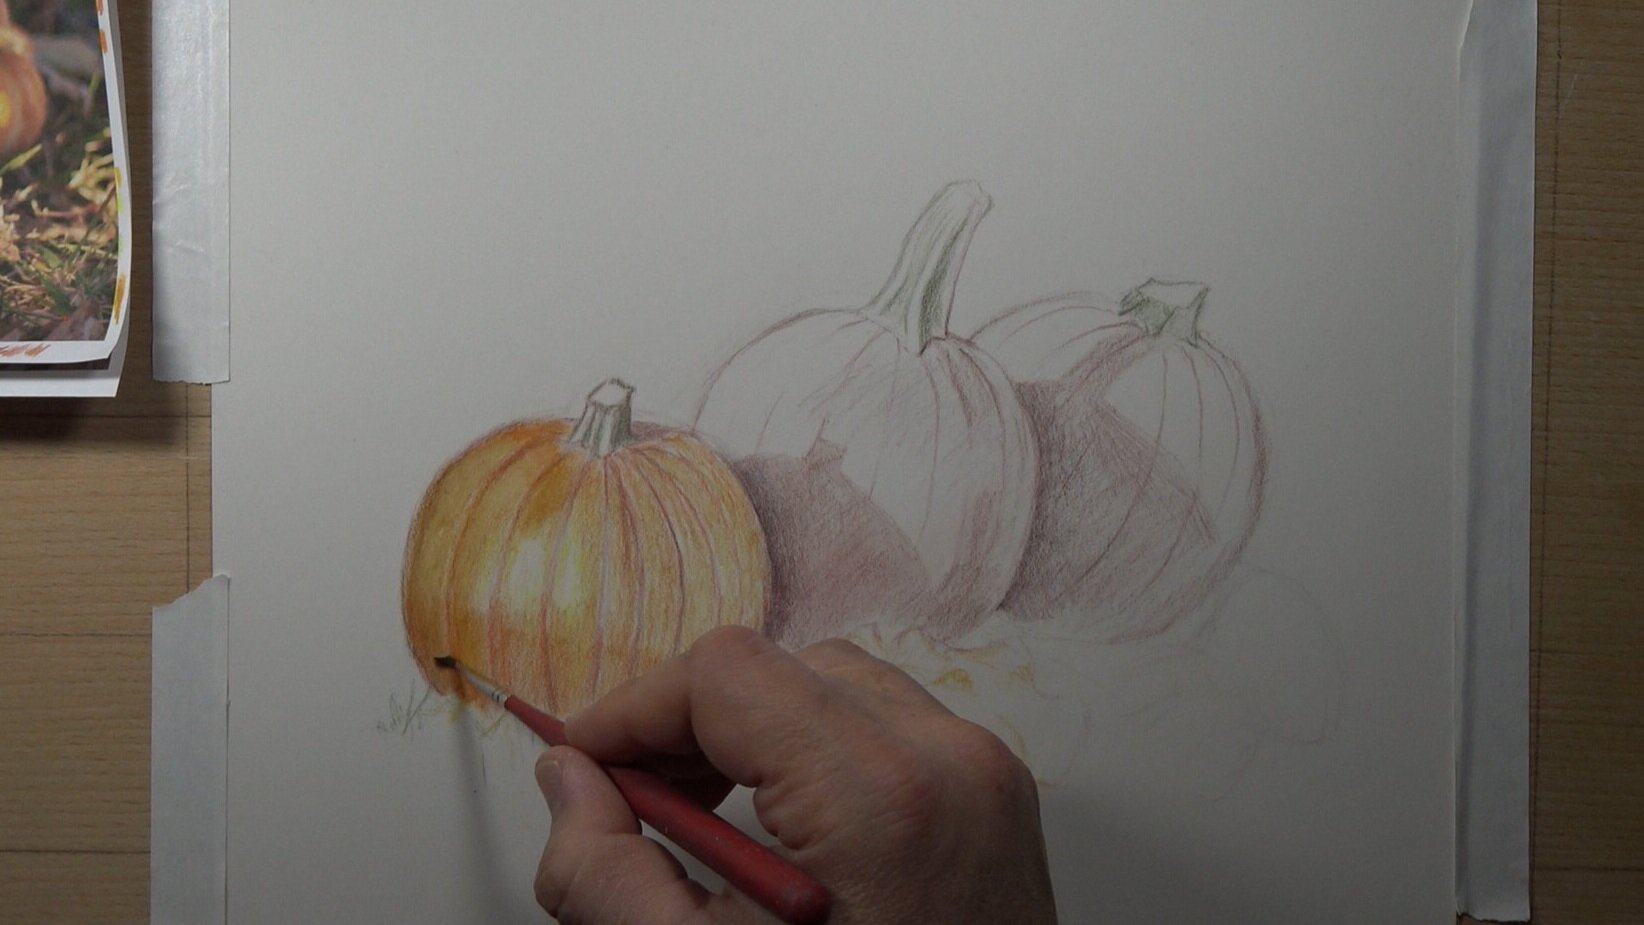

Step 5 - Add another layer of orange and solvent


While you're waiting for an area to dry you should skip to another area of the composition.
Step 6 - Increase the dark and light contrast

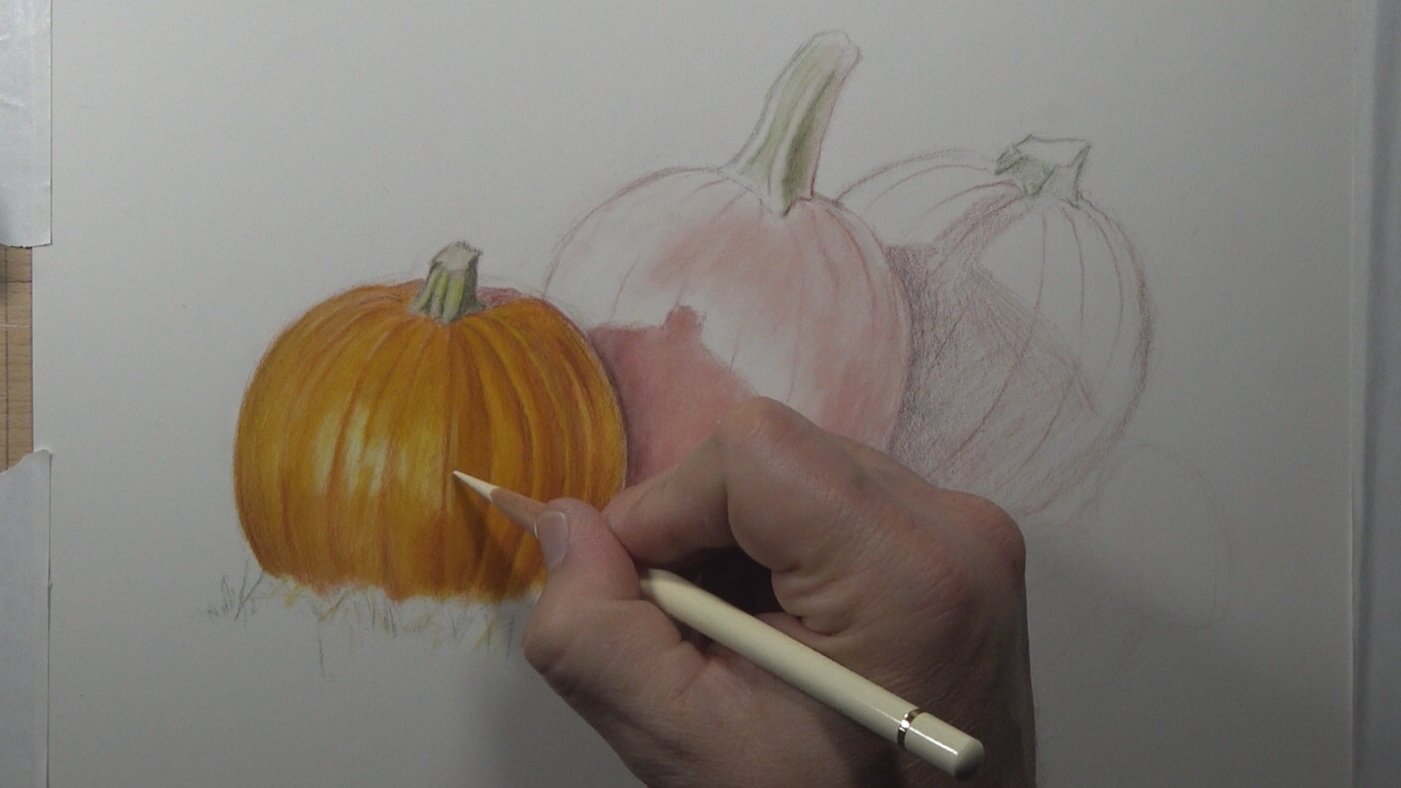
Add more light colors and dark colors. Pay close attention to the way light travels across the form of the pumpkin (the ribs) and create the middle values with subtle transitions.
Step 7 - Add more red and more caput mortuum and indigo in the shadows

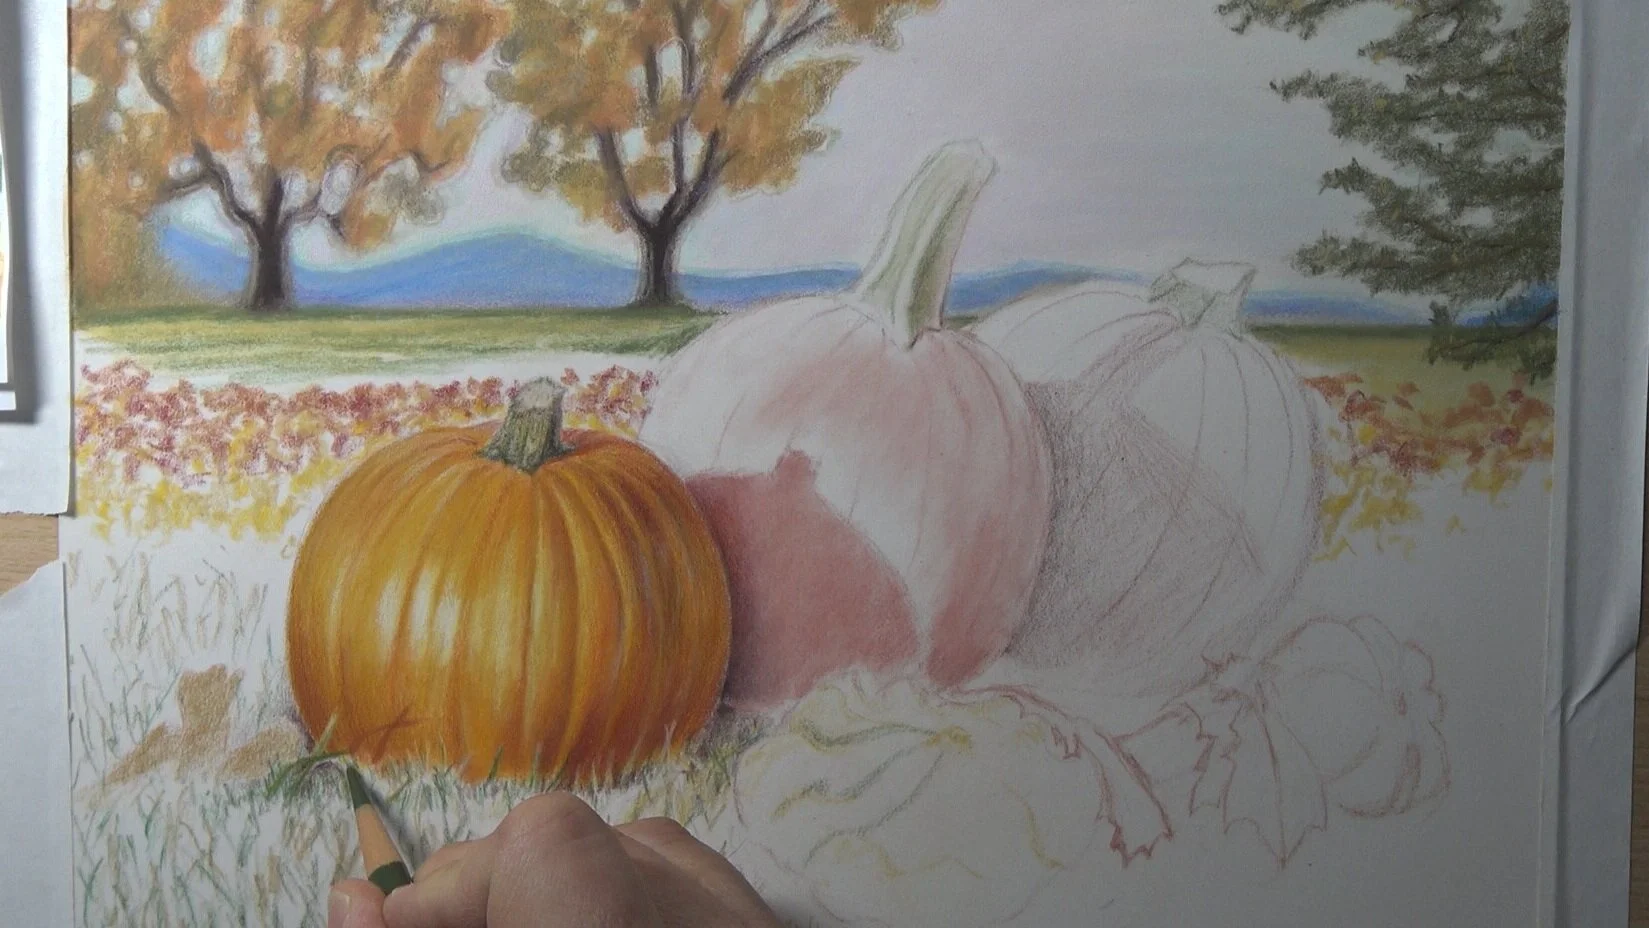
Step 8 - Add a horizon line and a loose sketch of a tree in the background

Step 9 - Add more trees, color in the sky, and add blue hills

Step 10 - Add more grass to the background and foreground, then add fallen leaves in the middleground
Interested in watching the complete 2 hour long demonstration video? Go to the Monthly Sharpener community and signup for the Members Circle.
Learn more here: Monthly Sharpener, Members Circle
For the complete 7-hour long course where I show you the complete process from start to finish go here:
Click here for the Pumpkins on Pastelmat Course!
Note: One technique to help keep you focused throughout the drawing is to keep moving back and forth between different areas. So switch between the foreground, middleground, and background often.
Keep working on the drawing until it looks the way you want. Each time you draw you will see things you never saw before. You will also gain a greater understanding and mastery of your medium.
Be patient with yourself and enjoy the process!