

When I first started drawing, I was like most beginner artists and used only graphite and charcoal. When I discovered colored pencils, it felt like everything clicked. Suddenly, my drawings had the potential for greater versatility and depth. I'd hit the jackpot!
All those feelings of excitement quickly drained away the first time I tried (and failed) to erase the way I had been used to. Was it possible that colored pencil wasn't the versatile medium I had hoped it would be? Was my art career over before it even started? Would I be better off giving up entirely?
Obviously, I needed a little pep talk and some research.
In time, I learned several erasing methods that give me more freedom and options. Thank goodness I didn't call it quits, because you CAN erase colored pencil--and it isn't even difficult!
To keep you from despairing like me, I've put together this little tutorial to show you some steps to keep unwanted marks off the paper:
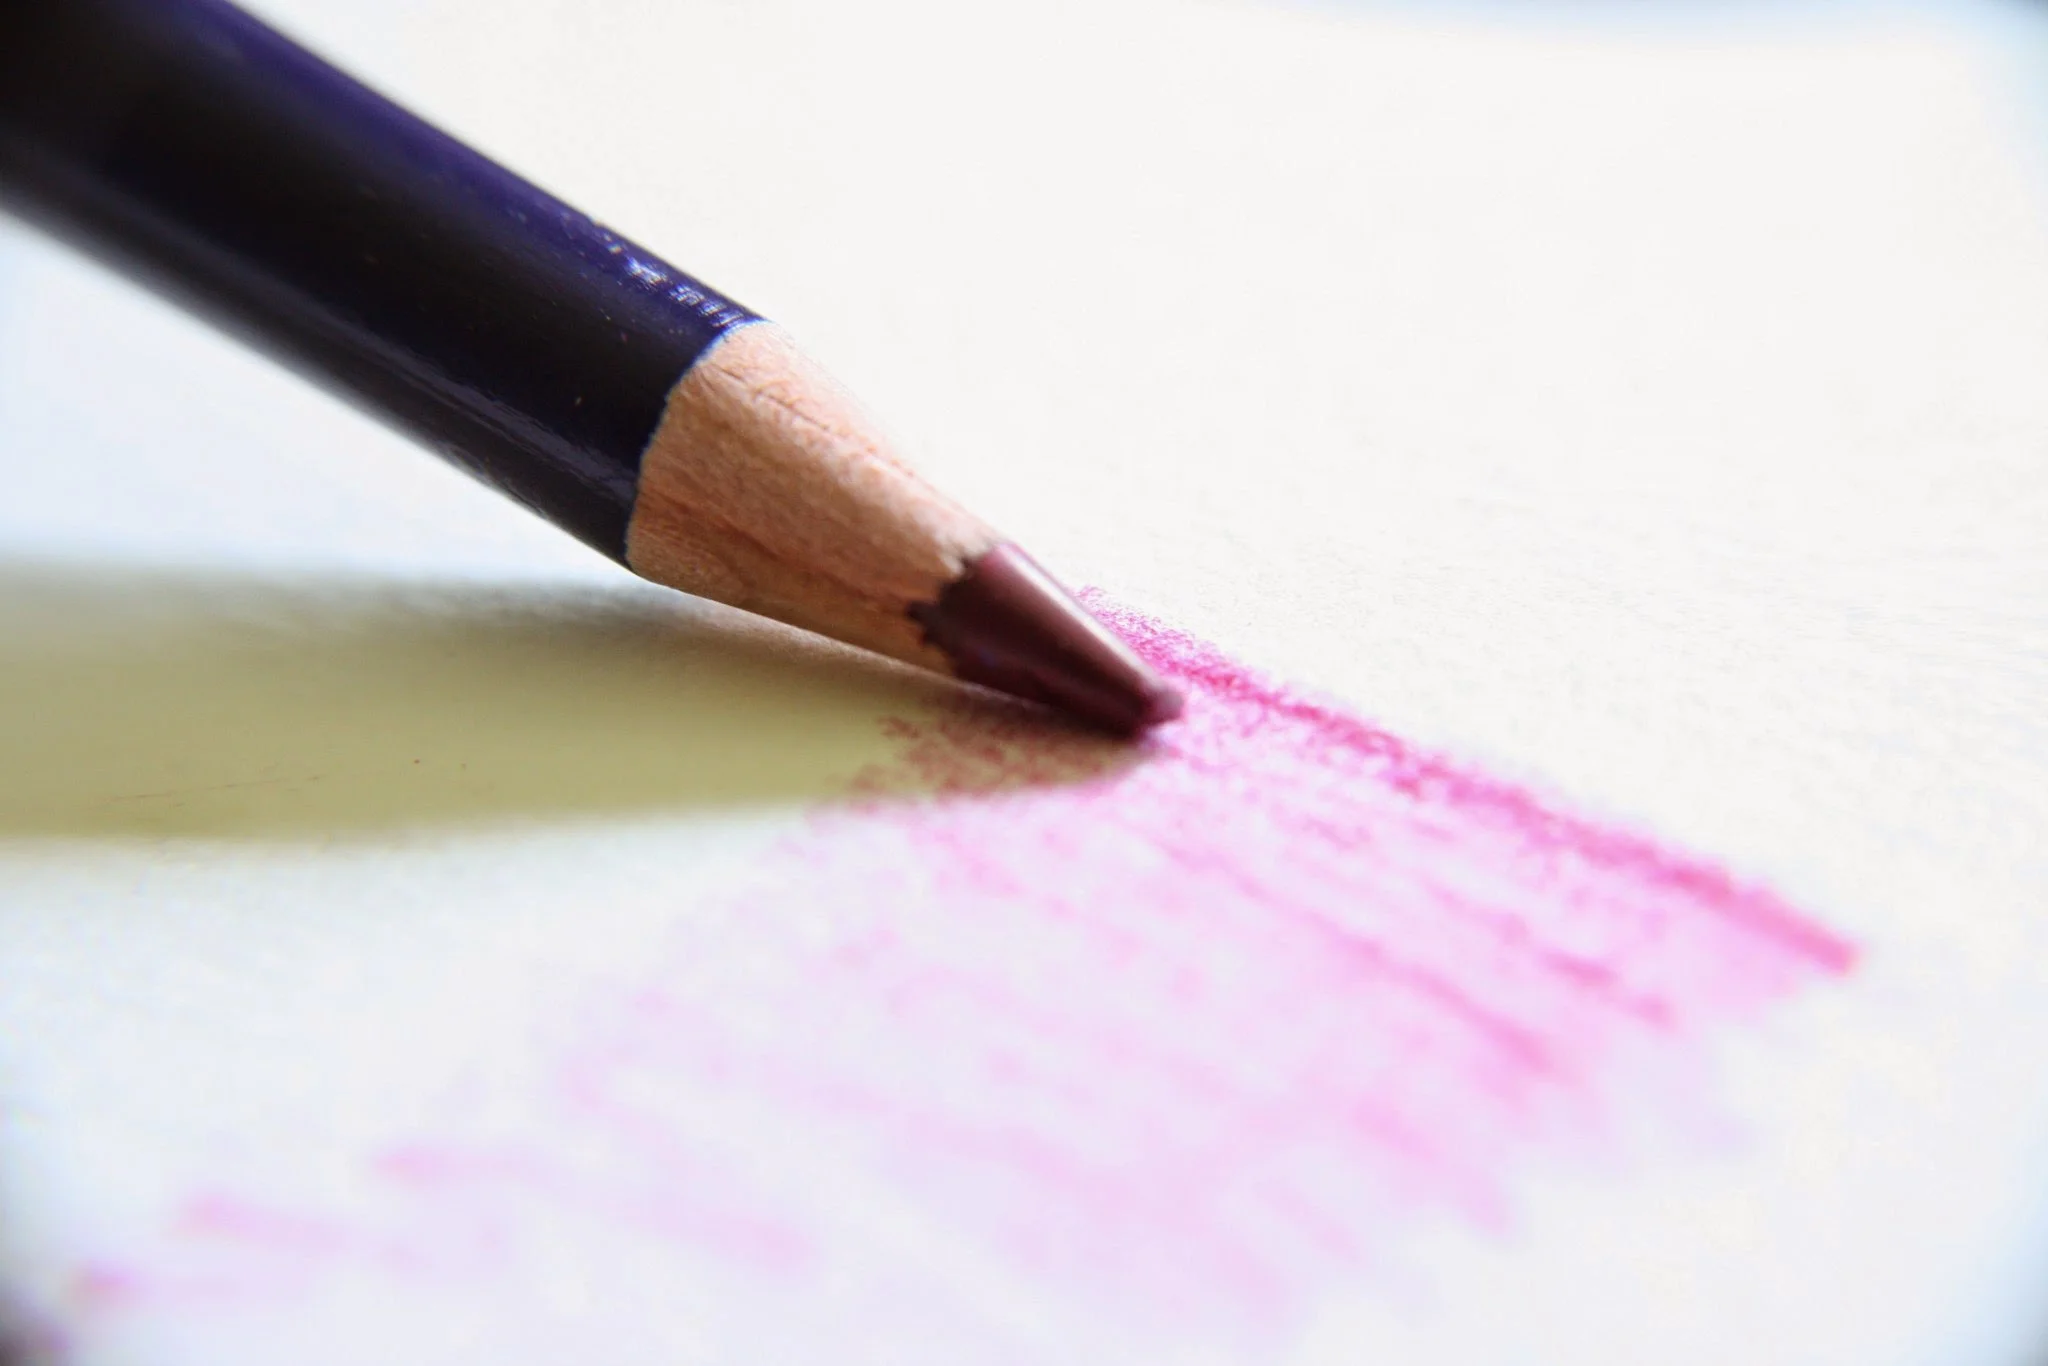
Method number 1--Use a Light Hand
Using a light hand (also called light pressure) when applying the pencil is the first method I recommend. To do this, hold the pencil comfortably in the tripod position. Keep your grip loose enough for the pencil to graze the surface of the paper using its own weight alone. Holding the pencil further down the shaft (opposite the point) will help you do this. If you use a soft touch and you’re careful not to burnish your paper too early, then you can erase marks if you need to.
Why it’s important:
Keeping a light hand not only helps with getting tons of layers down but it also helps you to erase the pigment if you need to. If you press very hard and grind the pigment down into the paper, it simply cannot be removed. Are you a burnisher? No problem. Go ahead and burnish, but wait to do it until the very end when there is nothing more to do on the drawing.
Method number 2--Work in layers
Build up the layer 1 to 2 colors at a time all over the areas in your drawing. Only after you’ve done one layer of color everywhere will you move to the next color. Repeat the process of building up the next layer slowly and gradually, and keep the point of your pencil sharp the entire time. Keep a test sheet of paper next to your drawing and take notes on order in which you laid down the pencil colors.
Why it’s important:
When you remove or erase areas of pigment in a certain area, you'll need to build the pigment back up in that small area using the same process as the section surrounding it. Without detailed notes about the colors you used and the order you layered them, you may find yourself constantly building up color in a fruitless effort to remember how you achieved your original look.
Method number 3--Erasing with Tap-Lift-Scrub
Like a boxer in the ring using 3 types of blows against his opponent, you also have to go at this removal process in these 3 creative ways.
First, tap with a kneaded eraser or poster tack. If you’ve followed the first 2 methods then your pigment will be easy to erase! The idea of tapping is to gently touch the paper with the sticky adhesive of the kneaded eraser and allow the pigment to be lifted from the surface. It seems to be more effective if you do this gently and keep moving your eraser to a clean area.
Keep in mind, there is a law of diminishing returns with this method. If you’ve done it a number of times and you notice that there isn’t anymore pigment coming off, then it is time to move on to part 2 of this erasing method. In the lift approach, you can take Scotch tape and apply a small bit to the area. Press it down gently with the tip of the pencil and then lift up on the tape and you’ll see more pigment magically disappearing. It's known as 'magic tape' for a reason!
Here’s a portrait I was working on recently where I used this very method to correct problems I had with the black pigment in the eyelashes. I followed these simple steps and I was back on track in no time.

If these first two methods don't work, go ahead and try the third choice as a last resort. This option involves using a synthetic eraser or plastic eraser to remove any last pieces of the pigment that have become a stubborn stain on the paper. There are also effective battery-operated erasers that make this process even faster and offer a lot of control.
So there you have it-- three ways to use whatever drawing techniques you like while enjoying the freedom to erase. What more could an artist ask for?