

Welcome to the first official installment of the Portrait Prep Series! Today we’re going to talk about a few of the basic skills you’ll need before you ever start to tackle a face-- and I do mean basic!
We’re taking it all the way back to lines, shading/value, and basic shapes.
Grab a sketch pad and follow along!
Lines
A line is all about finality. It says “STOP! Don’t look any further. There's nothing to see past this edge.”
Lines can also convey body, fullness, or a dark color. Caricature artists do this all the time. Their dark lines indicate dark brown hair or black hair, and their light lines indicate blond hair.
Believe it or not, a straight line isn’t found in nature! It’s just a convention that we’ve created to convey something that is visually ambiguous to us. Separating one value from another is a way for us to make sense of the world, but it’s important to note that straight lines will not be used in realistic drawing. Your work will end up looking more like a cartoon.
Nevertheless, a line is what we use to create marks in drawing. I recommend using small, straight lines as your stroke rather than the ovals or circles or points or curves you may have seen. This stroke is far more versatile and provides quick even coverage.
(One caveat--If you’ve already been drawing for 5 years or more and you have good control over your instrument, then stick with whatever stroke you prefer.)
Shading and Value
Portrait Prep Course students, refer to the video inside the course.
If you’d like to sign up for the FREE Portrait Prep Course, go here. The course begins June 1, 2020!
Shading is really a study of shadow and light. If there is light, then shadows are certainly present. In its simplest form, a shadow is just the absence of light.
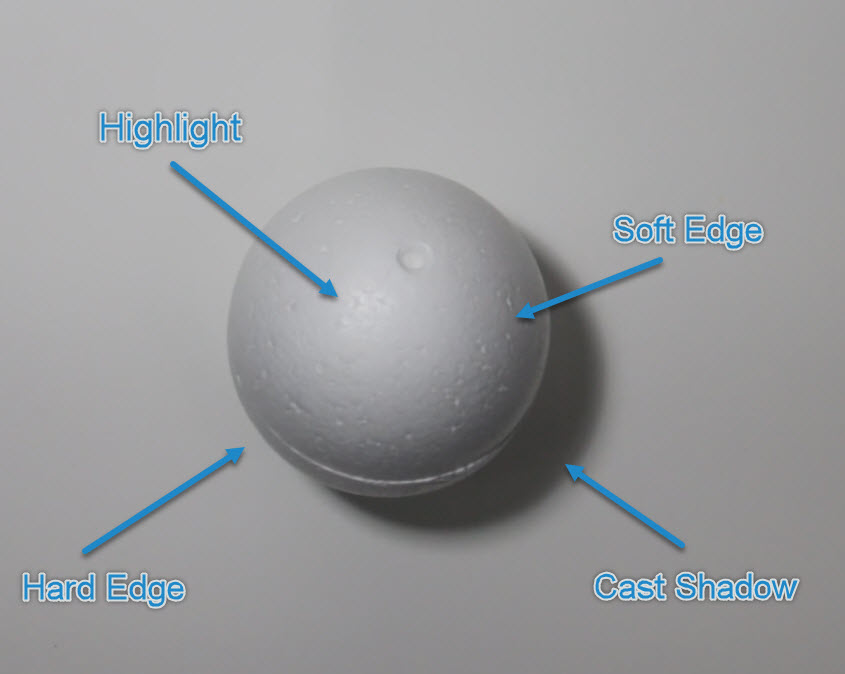
When it comes to shading and value, we’re primarily concerned with these 4 elements:
1. Hard Edge
2. Soft Edge
3. Cast Shadow
4. Highlight
When you begin to work on shading, you must ask yourself, “Is it a hard edge or is it a soft edge?” Next, think about what value on a scale of 1 to 10 that shadow is representing.
(We’ll break this down even more later, so don’t worry if it’s still a bit over your head.)
Let’s take a look at this styrofoam sphere as a visual example:
The sphere clearly shows us the separations of light and shadows.
Basic shapes
Today we’ll be looking at the elements of a basic square without shading it in. In later lessons, we’ll work on shading all the shapes (circle, square and triangles) and making them more 3 dimensional.
The most important concept here is learning to identify the length of your own mark by using your eyes.
To do this, draw a vertical line.
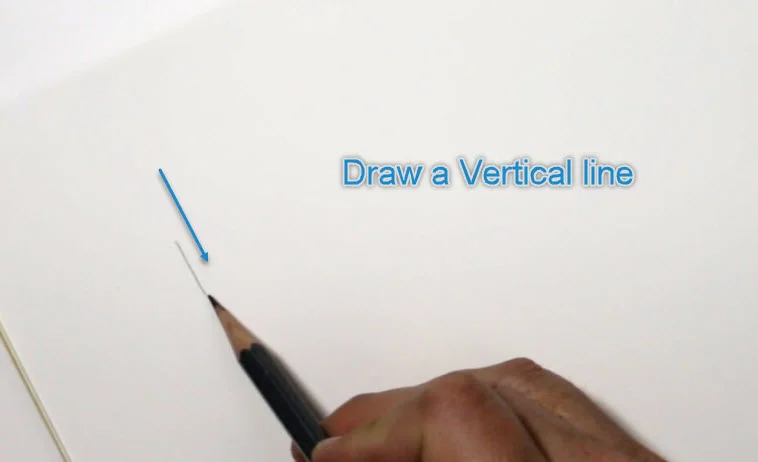
Then draw a perpendicular line (equal in size to your first line) to form the first half of your square. DON'T MEASURE.
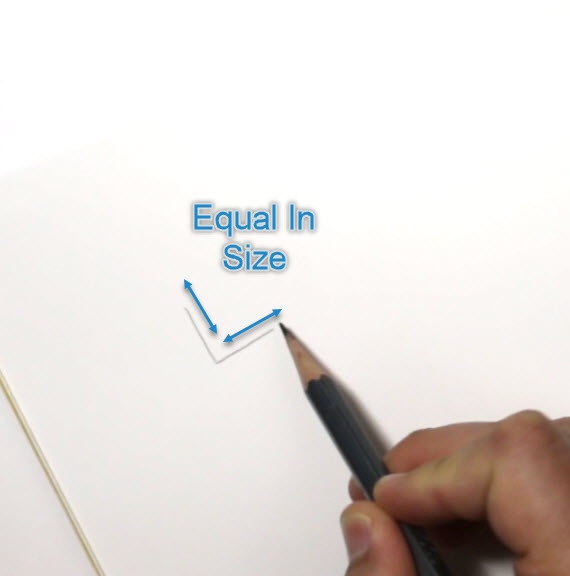
Check your work with a ruler. Were they actually the same size, or a little off?

Keep practicing this exercise until you can draw lines of equal size every time.
Creating a Value Scale
The next thing we’ll do is create a value scale.
On a value scale from 1 to 10, the values will span from a light area (ranging from 1 to 6), then a darker, shadow area (ranging from 6 to 10).
(Keep in mind that this exercise is intended to help you identify a range of values side by side. The likelihood of needing to create a perfectly-balanced, “1 through 6” kind of value in an actual drawing is next to none.)

Now it’s your turn to give it a try. Here are the exercises for this lesson:
Shading:
Practice fading the pencil from dark to light, then light to dark.
Create a Value Scale 1 to 6, then a Value Scale 1 to 10.
Practice over and over again.
Squares:
Draw a line vertically, then draw the line horizontally.
Create a completely separate image that is the same shape, but is half the size.
Repeat the process, this time starting with the smaller shape and moving to the larger shape.
Get comfortable drawing different types of boxes: squares and rectangles of varying sizes. (The 3-dimensional rendering will come later)